NestJS에서 OpenAI API (chatGPT API) 사용하기
- OpenAI platform 에서 api 사용 설정 및 테스트를 할 수 있다.
- chatGPT API 를 사용하여 텍스트 결과를 도출할 수 있다.
OpenAI API 사용 설정하기
OpenAI Platform 에 접속한다.
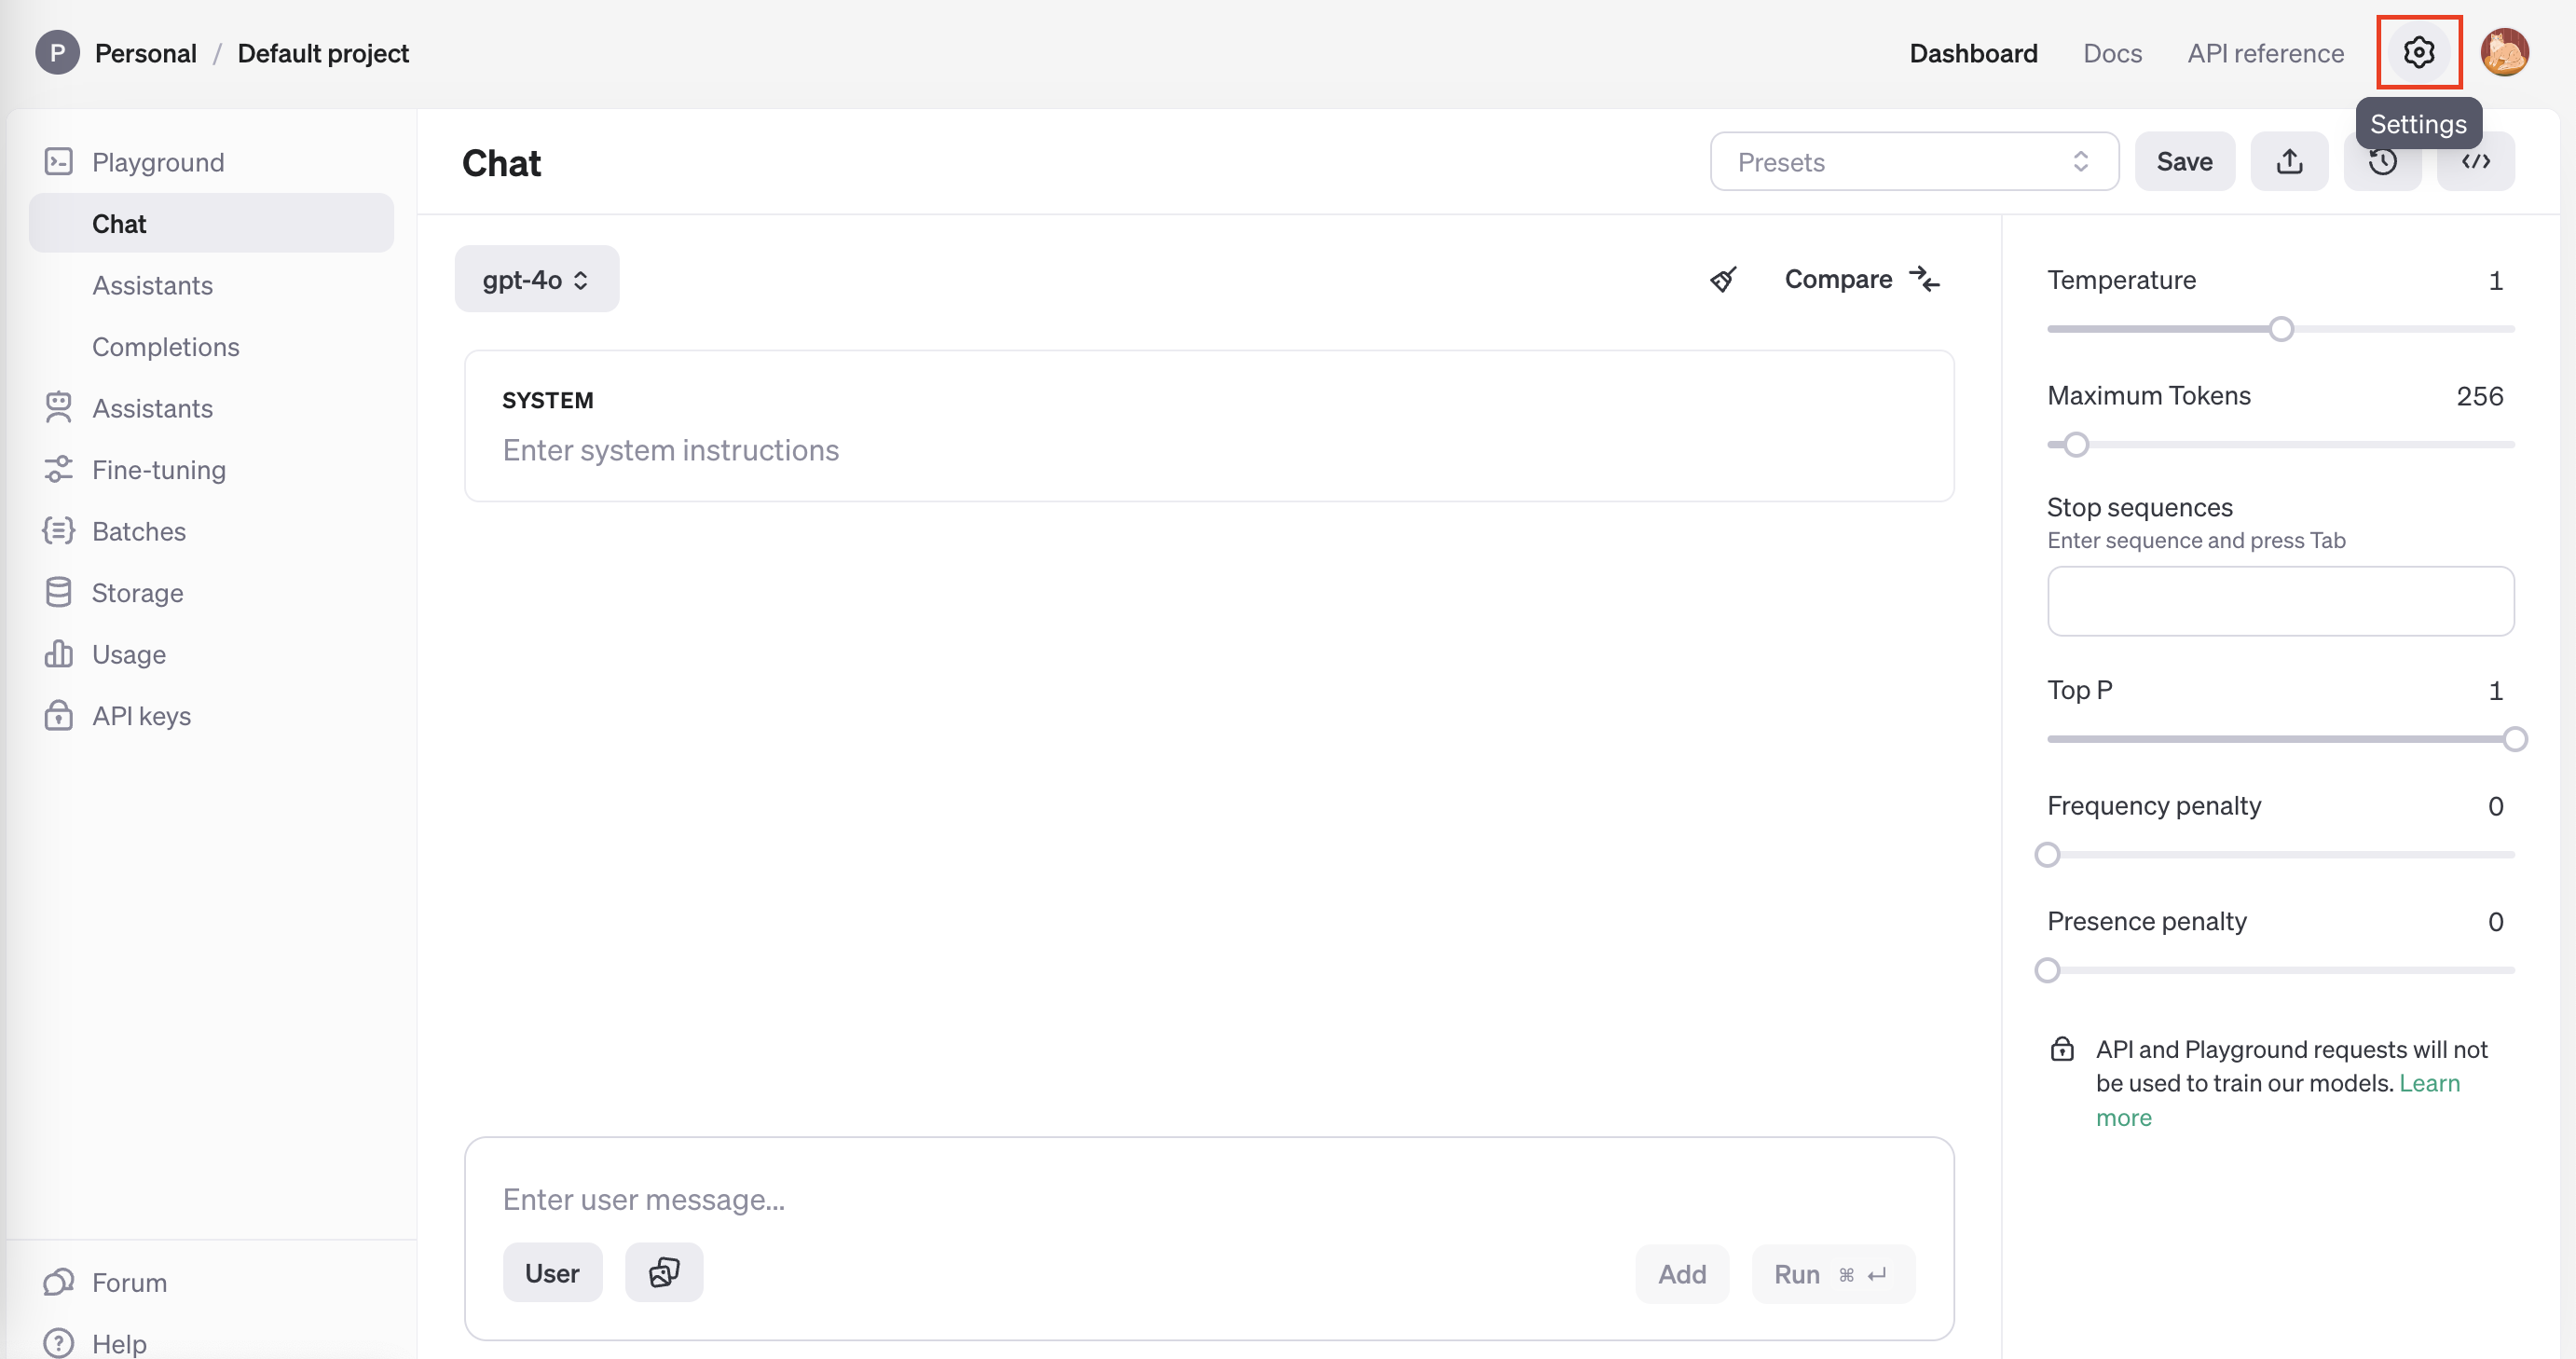
api 사용 설정을 위해서는 결제 등록을 해주어야 한다. 우상단의 설정을 들어간다.
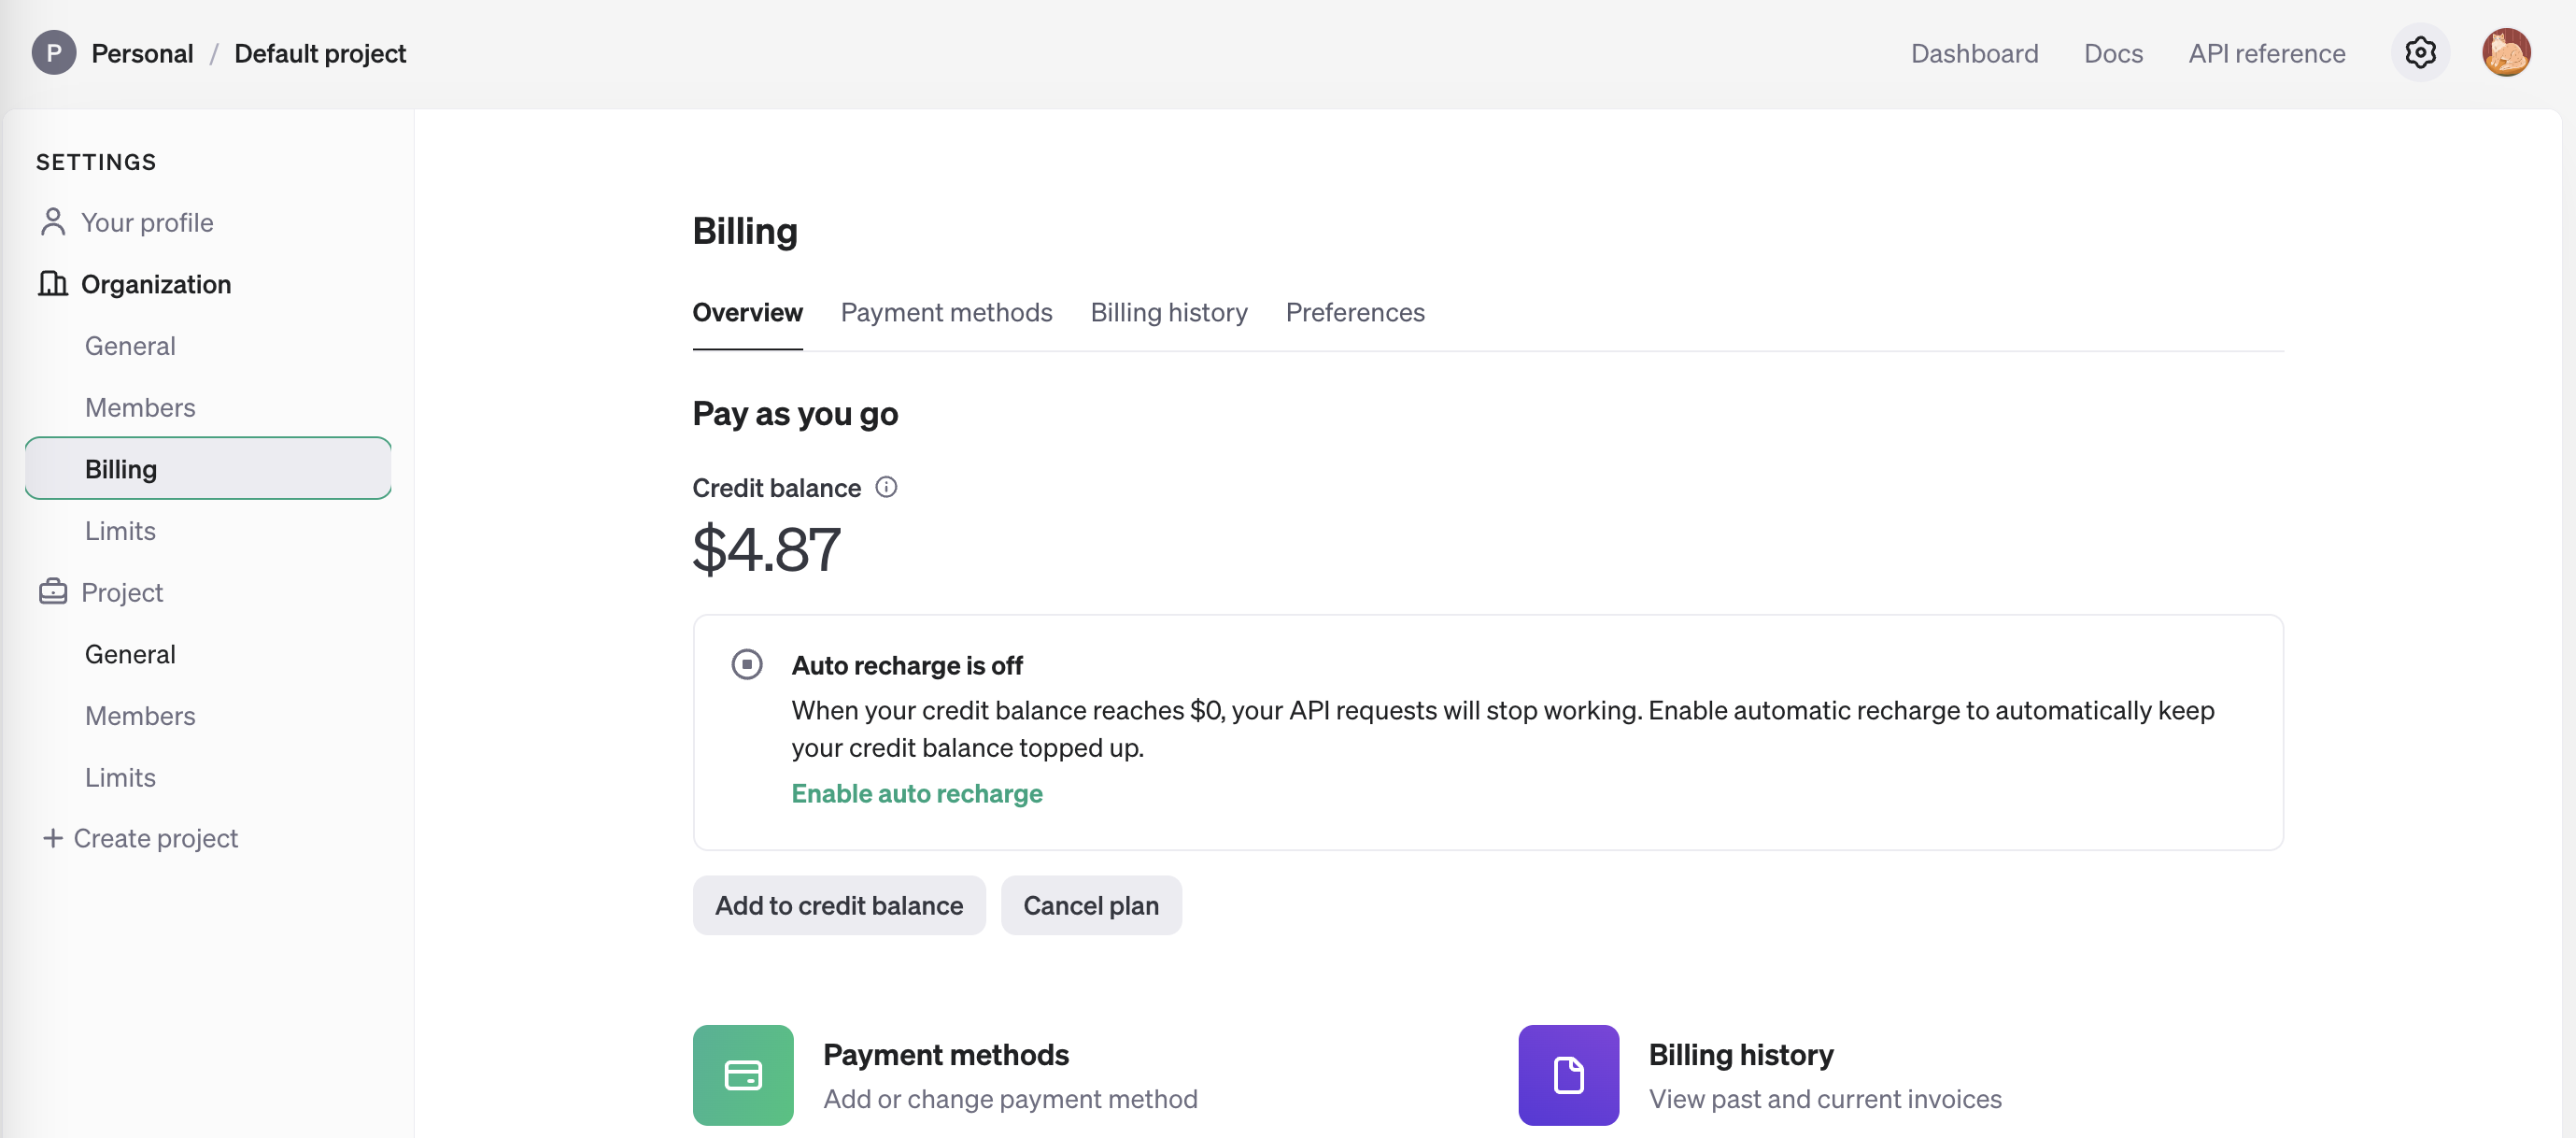
결제 수단 등록을 한다. 초기 사용을 위해 5달러가 바로 결제된다.
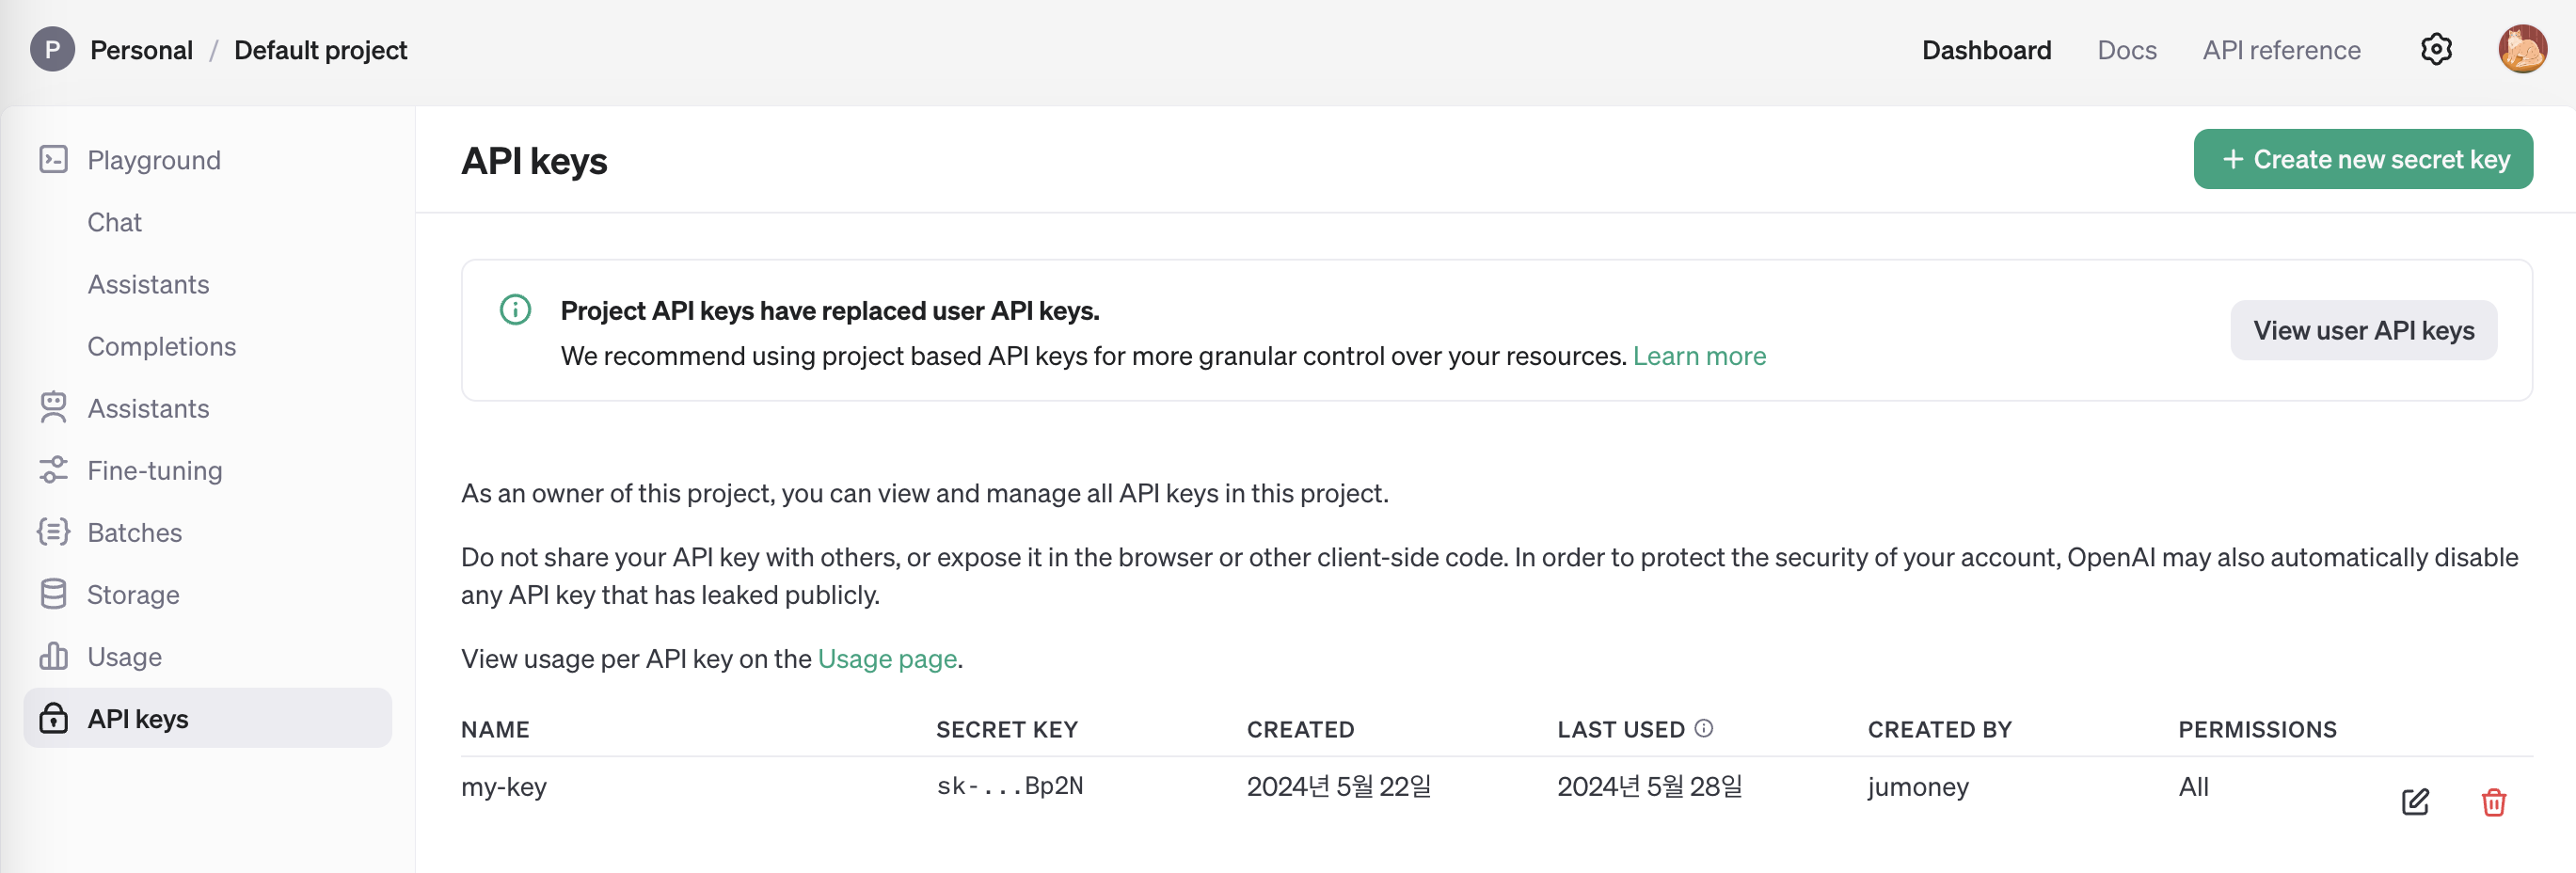
새로운 키를 발급받는다.
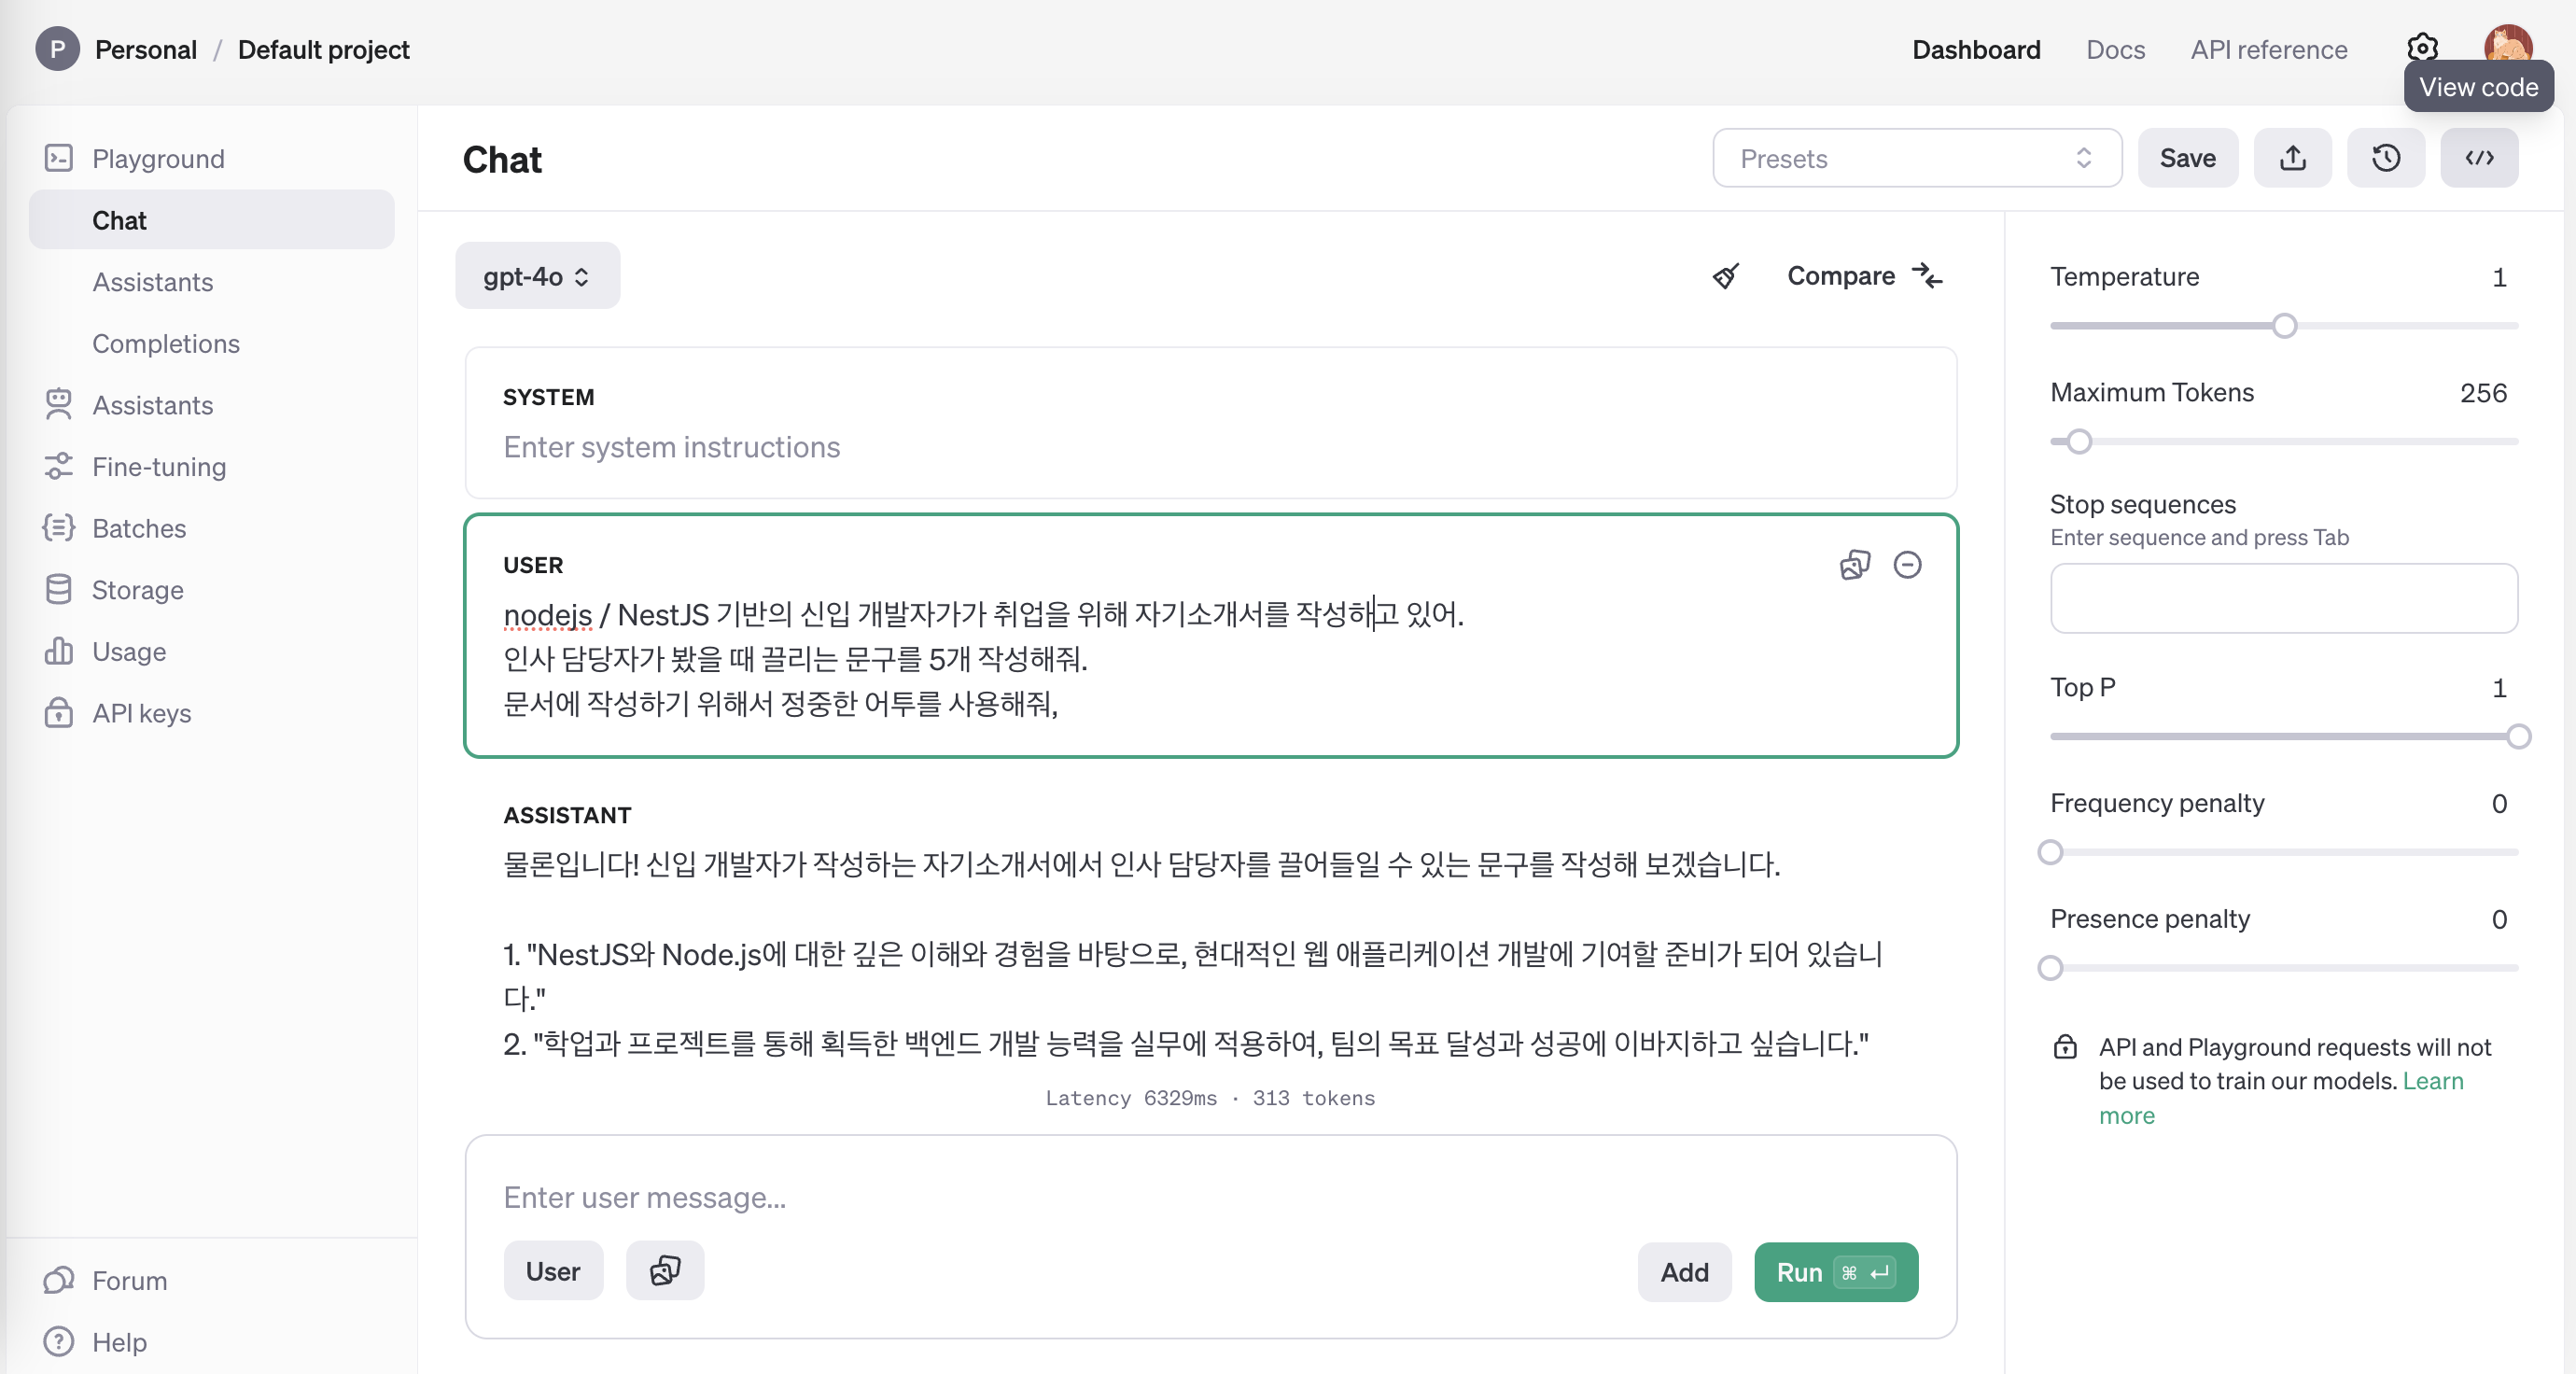
playground 에서 채팅 테스트가 가능하다.
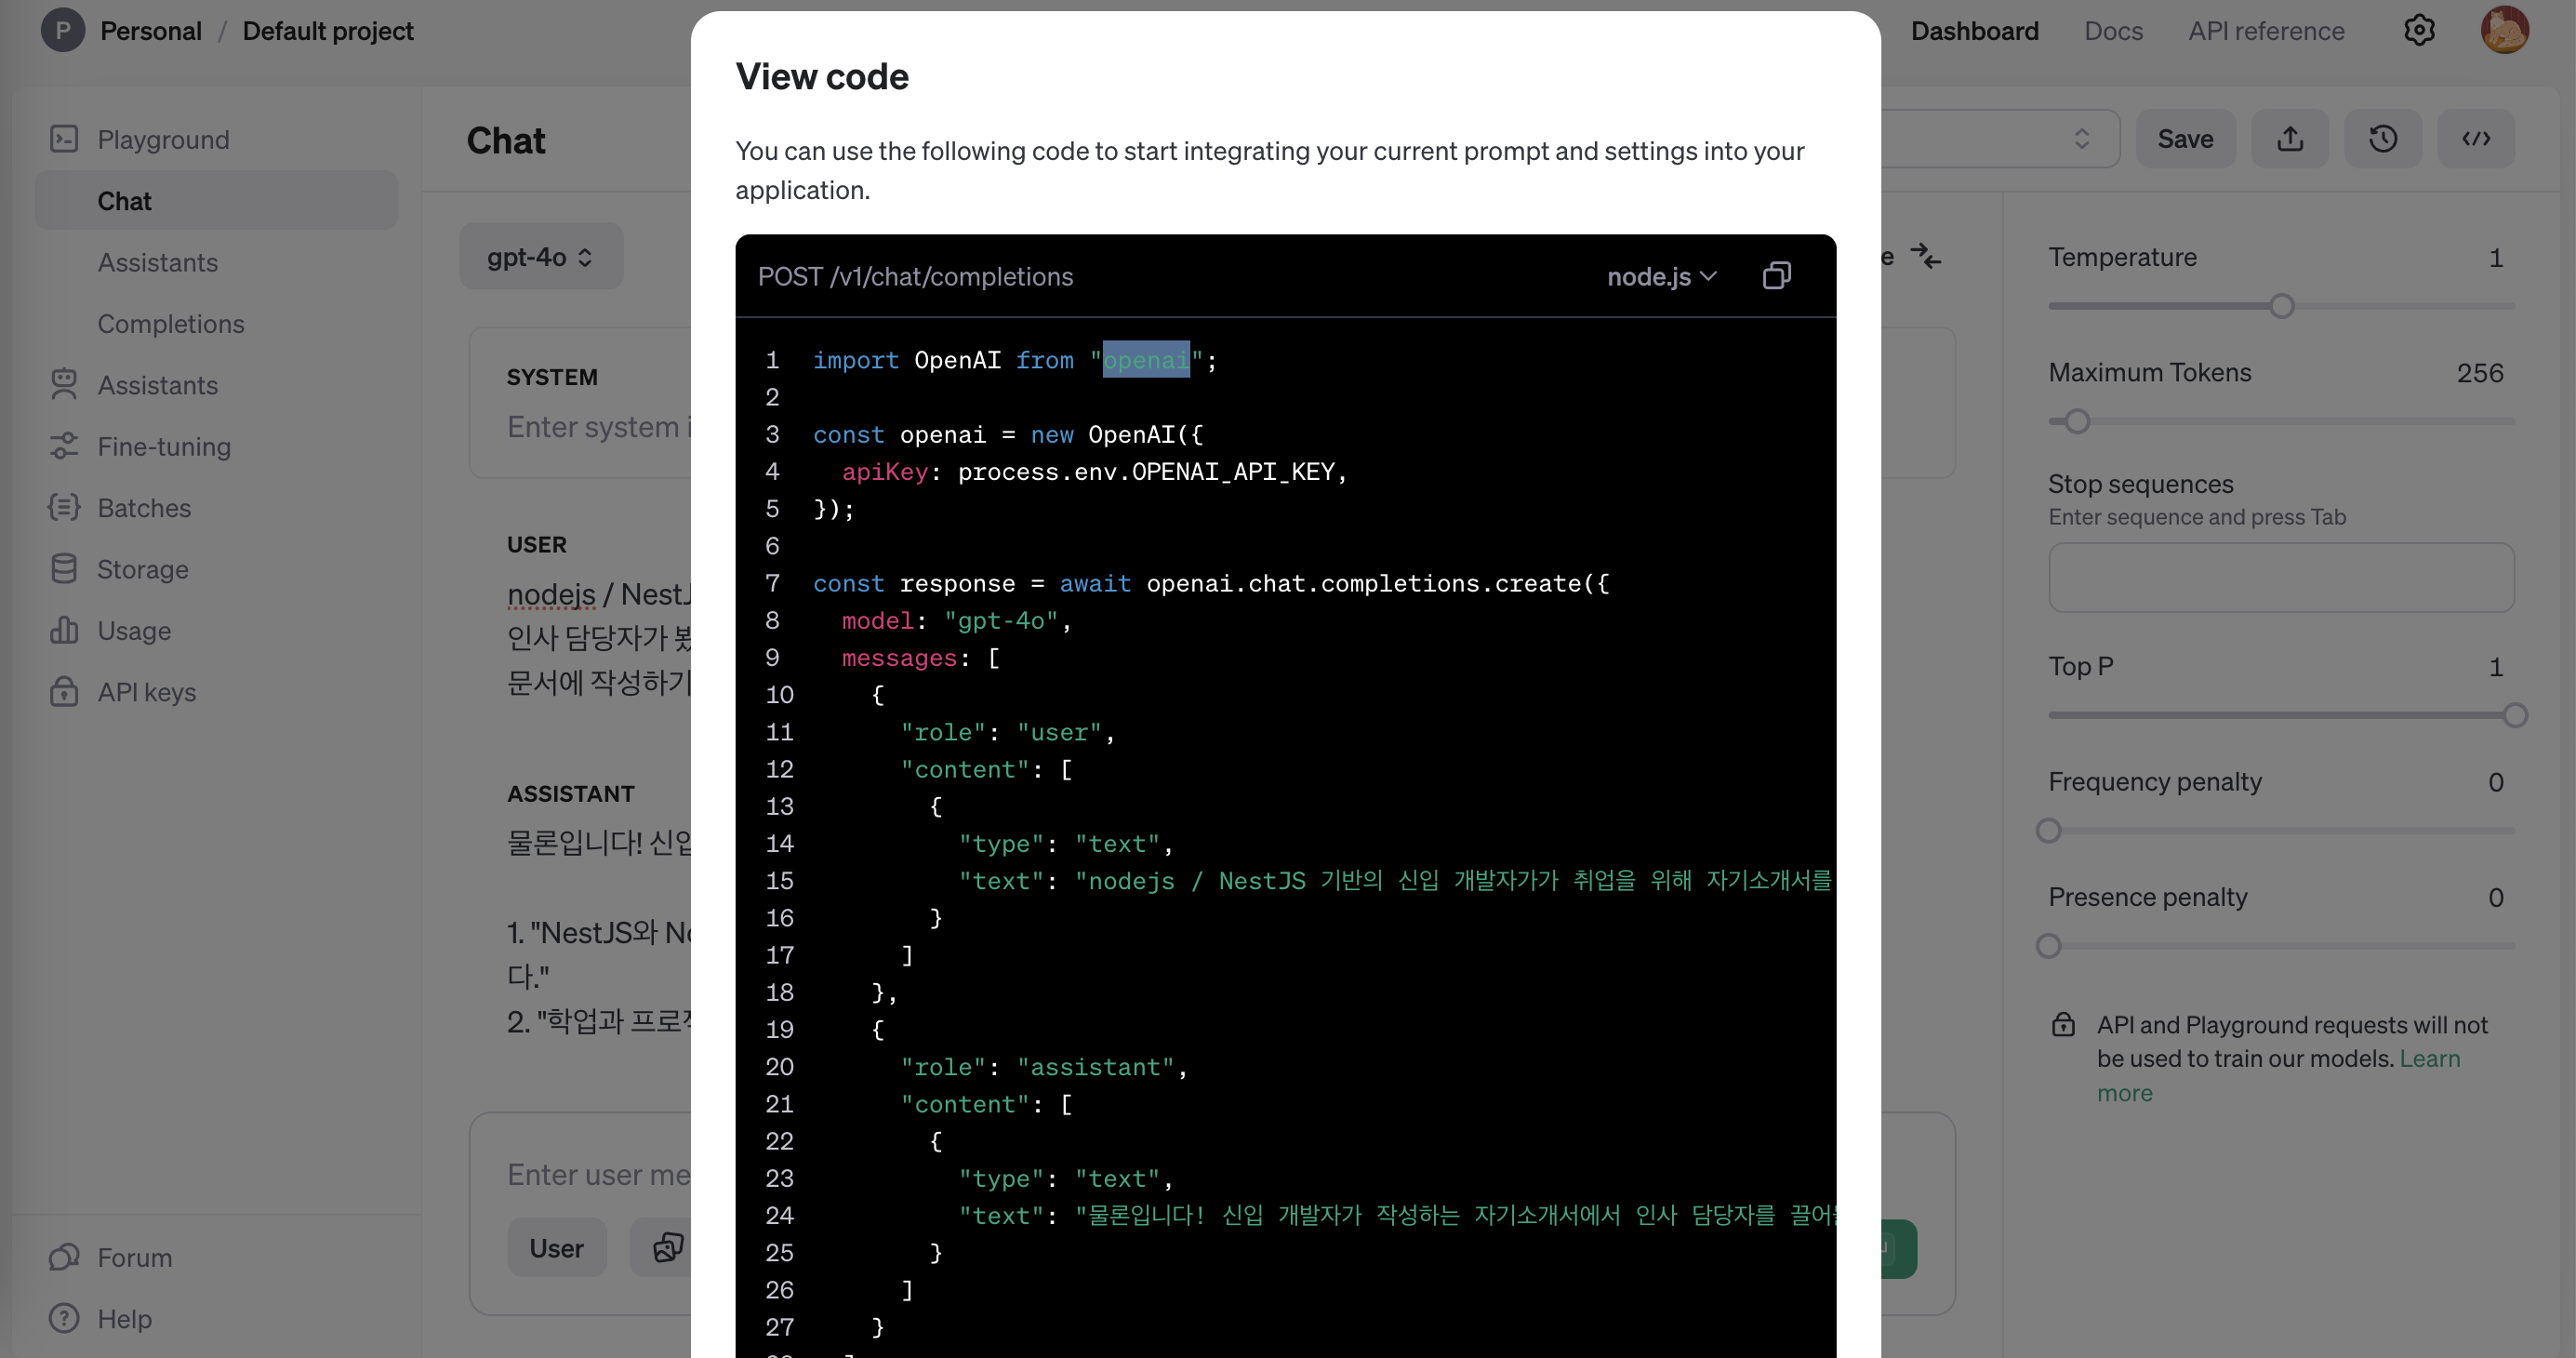
테스트한 채팅을 그대로 코드로 옮겨오기도 가능하다.
NestJS 에서 OpenAI chat api 사용하기
1
npm i openai
1
2
3
4
# .env.skel
OPENAI_API_KEY=
OPENAI_MODEL_ID=
OPENAI_PROMPT_USER=
OPENAI_PROMPT_USER 는 사실 굳이 시크릿으로 둘 필요는 없다.
1
2
3
4
5
6
7
8
9
10
11
12
13
14
15
16
17
18
19
20
21
22
23
24
25
26
27
28
29
30
31
32
33
34
35
36
37
38
39
40
41
42
43
44
45
46
47
48
// open-ai.service.ts

@Injectable()
export class OpenAiService {
  private openai: OpenAI;

  constructor(private readonly configService: ConfigService) {
    this.openai = new OpenAI({
      apiKey: this.configService.get<string>('OPENAI_API_KEY'),
    });
  }

  async getFortuneFromOpenAi(): Promise<any> {
    try {
      const chatCompletion: OpenAI.Chat.ChatCompletion =
        await this.openai.chat.completions.create({
          model: this.configService.get<string>('OPENAI_MODEL_ID'),
          messages: [
            {
              role: 'user',
              content: [
                {
                  type: 'text',
                  text: this.configService.get<string>('OPENAI_PROMPT_USER'),
                },
              ],
            },
            // 채팅의 답변을 임의로 작성하여, 원하는 데이터 생성에 hint를 줄 수 있다.
            // {
            //   role: 'assistant',
            //   content: 'OPENAI_PROMPT_ASSISTANT'
            // },
          ],
          // ⬇ set same as the playground
          temperature: 1,
          max_tokens: 256,
          top_p: 1,
          frequency_penalty: 0,
          presence_penalty: 0,
        });

      return chatCompletion.choices[0].message.content;
    } catch (err) {
      throw new BadRequestException(err);
    }
  }
}
마무리
아직 예제 정도 말고는 사용하지 않아서 미숙한 느낌이 있다. 🥲 프롬프트 작성이 어려워서 좀 더 알아봐야 할 것 같다.
This post is licensed under CC BY 4.0 by the author.
